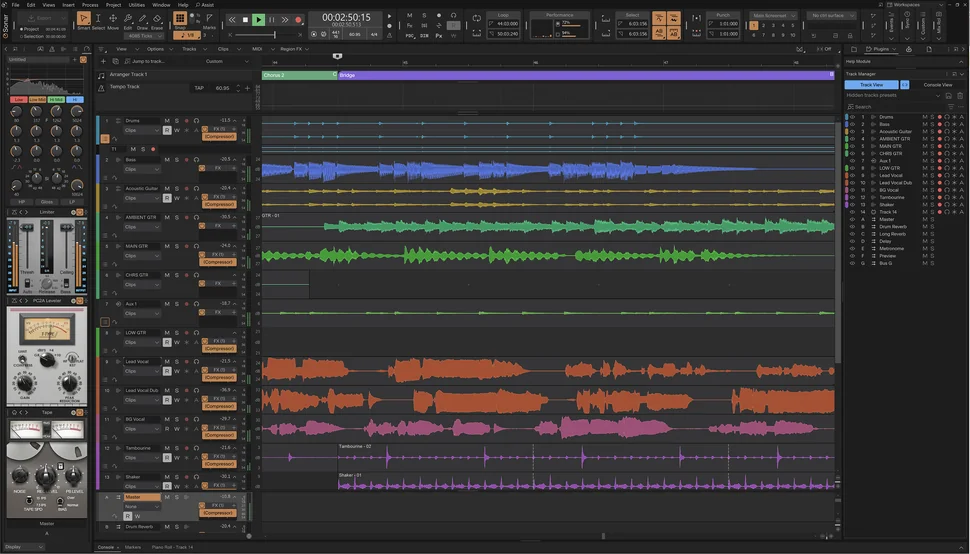
Get ready, this one is going to be quite an indepth review of Cakewalk sonar. Cakewalk Sonar Free is a Windows DAW designed for multitrack recording, MIDI composition, editing and mixing. It provides unlimited audio, MIDI and instrument tracks, alongside advanced tools such as Take Lanes, AudioSnap, ProChannel processing and the Arranger Track.
Unlike many free DAWs that restrict track counts or disable important editing features, Sonar retains much of the recording and mixing workflow associated with its professional editions. You can record several performances, build composite takes, programme software instruments and develop detailed mixes without subscribing to BandLab Membership.
The distinction lies in the additional tools and content. The free edition has a single Arranger Track, a smaller selection of ProChannel modules and no access to certain premium effects, interface customisation tools or plugin oversampling.
These limitations matter differently depending on whether you’re recording a band, producing beats or managing large arrangements.
Free-version details: Cakewalk Sonar Free requires a free BandLab account for activation but does not require a paid subscription. Its free licence is currently indefinite, although periodic reauthorisation is necessary. Once activated, Sonar can operate offline.
The free edition includes unlimited tracks, Take Lanes, comping, AudioSnap, articulation maps, ARA support, Mix Recall and ProChannel functionality. Membership unlocks additional ProChannel modules, multiple Arranger Tracks, Workspaces, Track Manager, plugin oversampling, Elastique stretching, POW-r dithering and premium instruments and effects.
Sonar is exclusively available for Windows. Mac users should look at Cakewalk Next, which is a separate application with a different production workflow.
Cakewalk’s Take Lanes are particularly useful when recording vocals, guitars or live instruments that rarely arrive as one perfect performance. Instead of repeatedly recording over the same audio, you can capture several attempts and keep them organised inside one track.
When loop recording in Comping mode, each pass can be stored on a separate Take Lane. You can then audition individual performances and select the strongest phrases without permanently discarding the others.
For a vocal recording, the first take might have the best opening line while another contains a cleaner chorus. Using the Smart or Comping tool, you can select those sections and Sonar automatically mutes the overlapping material from the other takes.
This is more useful than simply choosing whichever recording sounds best overall. One performance might have stronger timing, while another captures the emotion of a particular phrase. Comping allows you to preserve those differences while developing a cohesive result.
The transitions between selected takes deserve attention. Sonar can create crossfades where the edits meet, but an automatic crossfade won’t necessarily conceal a change in vocal tone, microphone position or background noise. Listen through each transition in the context of the full arrangement, particularly around breaths and sustained notes.
Speed Comping provides another approach. You can audition a selected passage using Shift + Spacebar, move between takes with the arrow keys and isolate the preferred performance. This becomes useful when reviewing many variations of the same phrase without repeatedly reaching for the mouse.
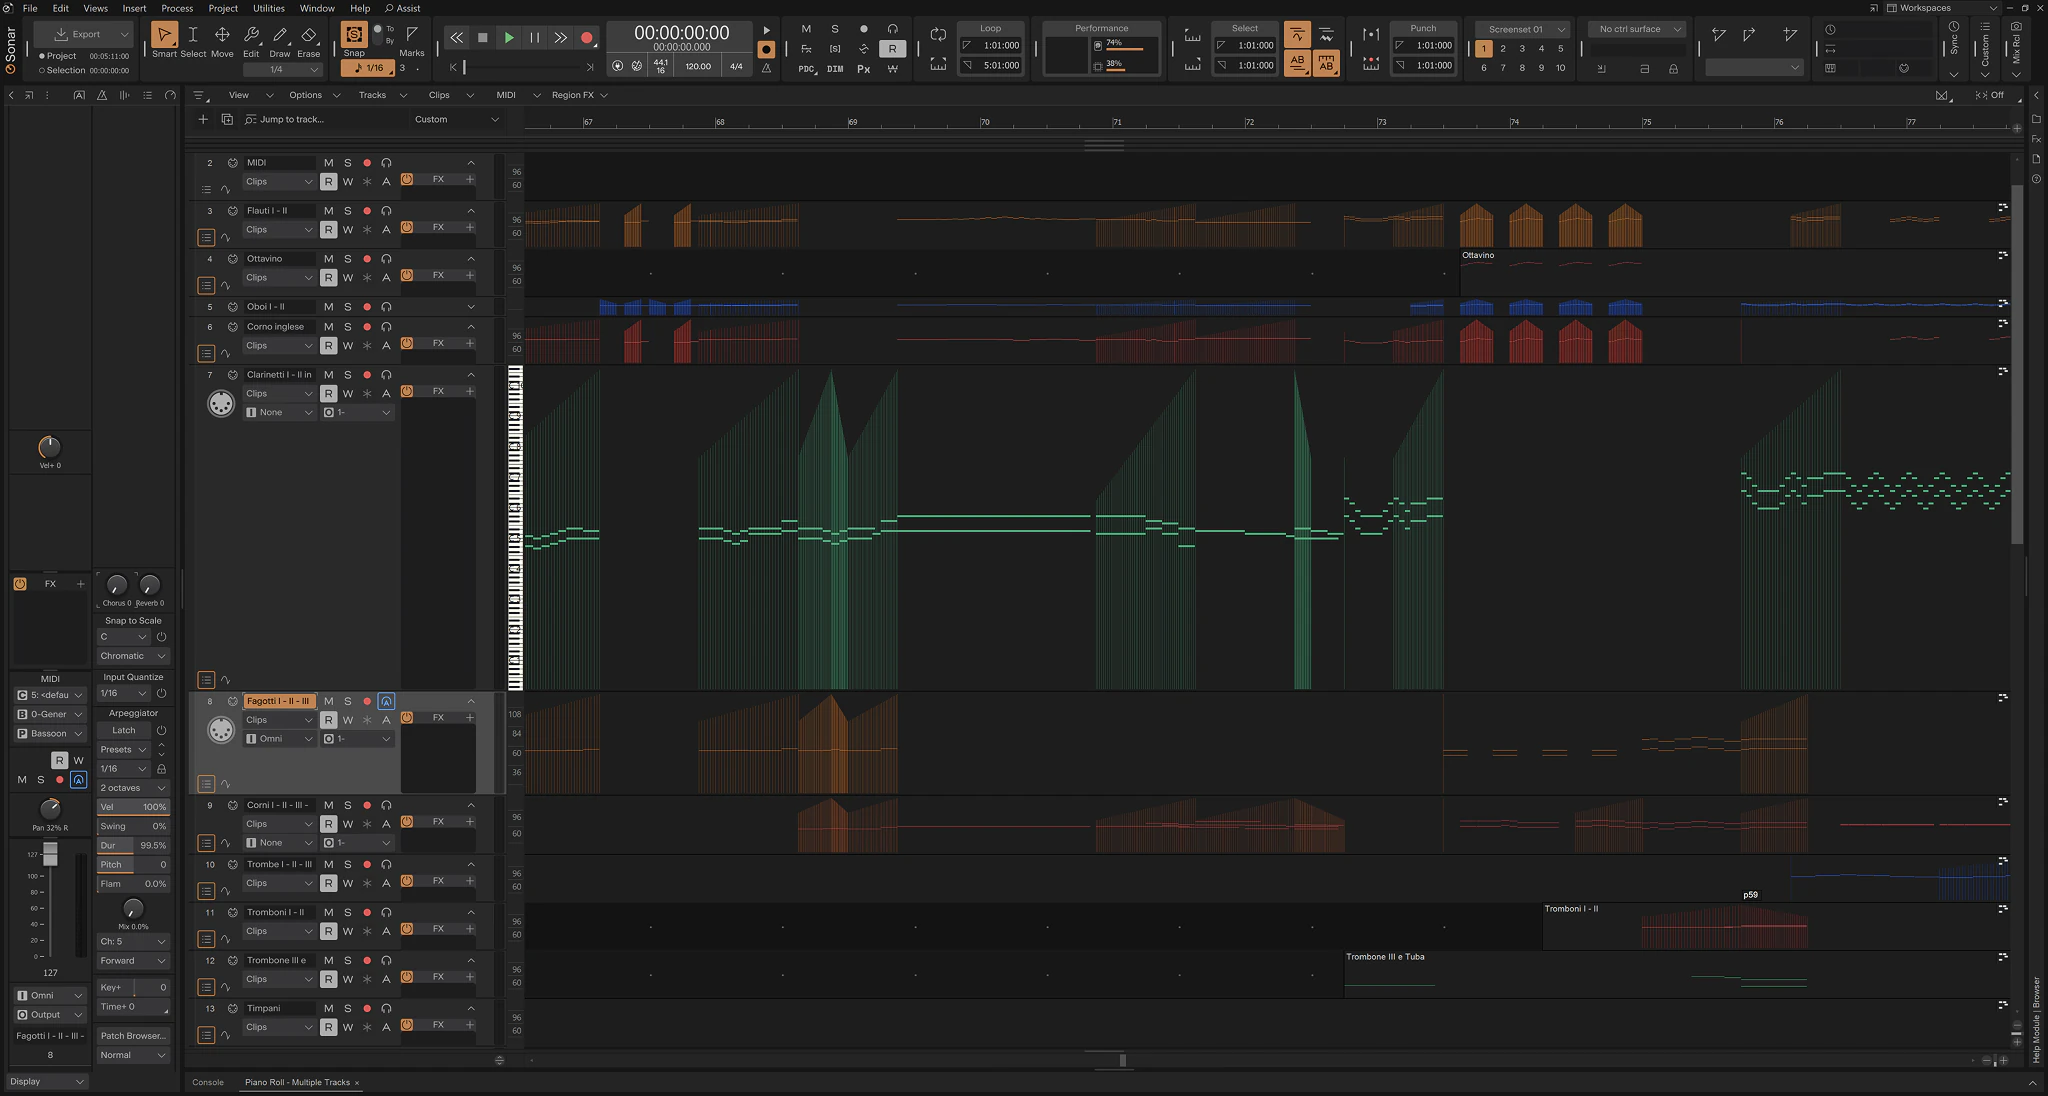
Sonar’s Piano Roll supports detailed MIDI editing, making it suitable for producers who build tracks from programmed drums, basslines, synthesizers and sampled instruments.
Articulation Maps are particularly interesting because they separate performance instructions from the MIDI notes themselves. Instead of placing keyswitch notes throughout a piano-roll pattern, you can organise articulations in a dedicated pane and apply them to the relevant passages.
For example, a sampled string instrument might use keyswitches to change between sustained notes, pizzicato and short articulations. Sonar can organise those changes into named controls, making the arrangement easier to understand than a collection of unexplained low MIDI notes.
The same principle can help with detailed drum libraries that offer different playing techniques or MIDI instruments requiring channel changes. Articulation Maps support keyswitches, controller messages, velocity-based instructions and MIDI-channel assignments.
You can also import compatible Cubase Expression Maps, which is useful when moving between systems or working with sample libraries that already provide mapping files.
Articulation Maps remain available in Sonar Free, although advanced negative time offsets are reserved for Membership. For instruments with a slow attack, that distinction can matter because the audible beginning of a sampled note may occur later than its MIDI trigger.
AudioSnap extends timing correction into recorded material. It identifies transients that can be used to analyse timing, quantise performances or adjust audio clips against a rhythmic reference.
Consider a multitracked drum recording where the snare consistently lands slightly behind the intended beat. AudioSnap provides tools for examining those transients and correcting timing without manually moving every individual hit.
However, quantising a multitracked performance requires care. Editing related microphones independently can change their timing relationships and introduce phase problems. It is better to preserve the relationships between the microphones and evaluate the result against the original performance rather than forcing every detected transient onto the grid.
The absence of the premium Elastique stretching mode does not remove AudioSnap or all other time-stretching options. It simply reduces the available processing choices.
Cakewalk’s Arranger Track lets you organise intros, verses, choruses and bridges into sections, then experiment with different song structures without repeatedly copying audio and MIDI clips.
For a dance track, you could compare a bassline entering after 16 bars with a longer breakdown that delays the main drop. The Arranger Inspector lets you preview these variations while preserving the original arrangement.
Sonar Free includes only one Arranger Track, but that doesn’t limit you to one arrangement. You can reuse sections in multiple arrangement sequences. Membership becomes relevant when you need overlapping section definitions or additional Arranger Tracks for more complex projects.
This is particularly useful when experimenting with transitions or restructuring songs without dismantling an existing arrangement.
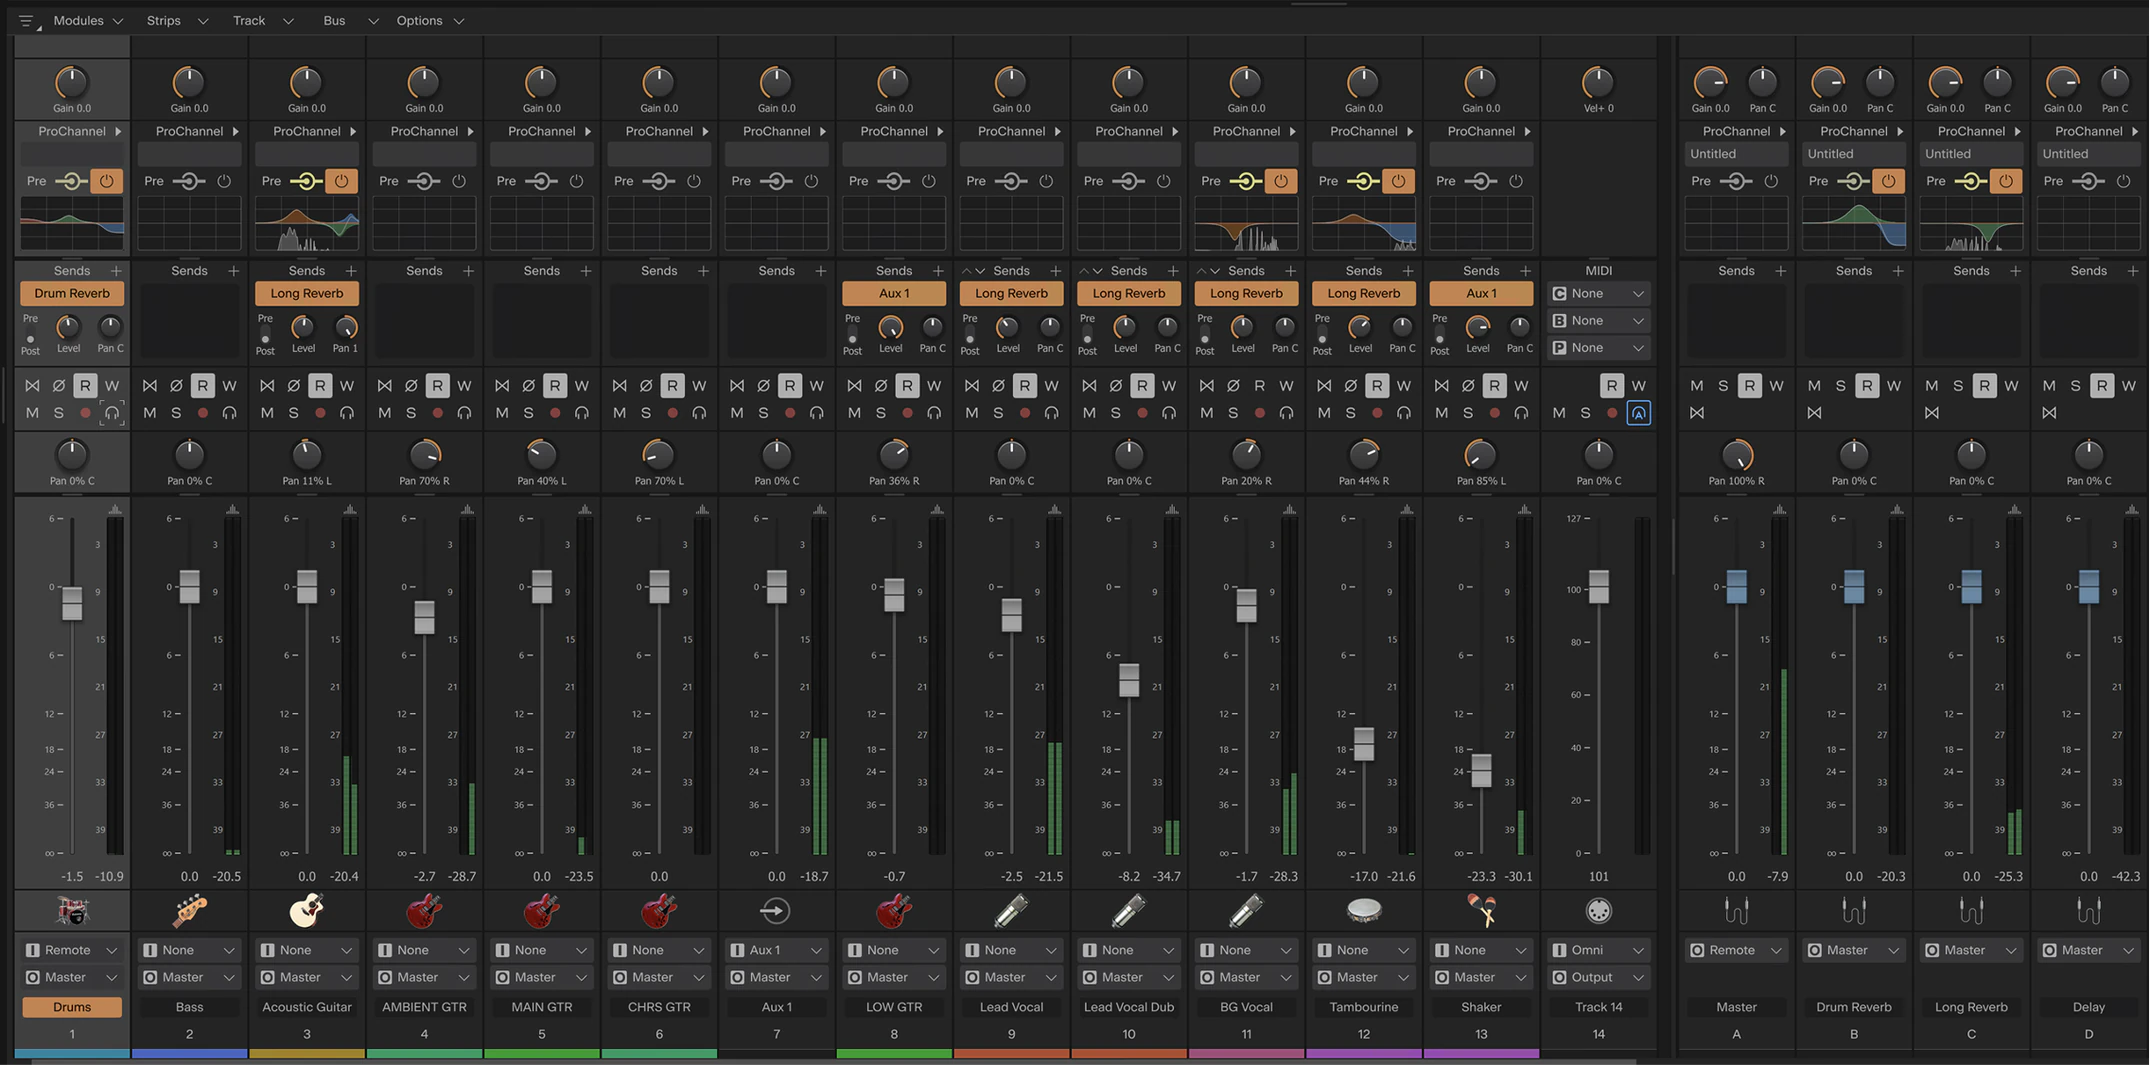
Sonar’s Console View uses traditional track and bus routing, while ProChannel integrates EQ, dynamics and other compatible processors directly into the channel strip. ProChannel is included in Sonar Free, although certain modules and the Core Plugins Suite require Membership.
For drum mixing, route the kick, snare and percussion to a shared bus for group processing while retaining individual EQ and compression. Alternatively, send several vocal layers to a shared reverb bus, using separate send levels to control their ambience without loading multiple reverb instances.
Mix Recall lets you store alternative mixer configurations. You could compare a drum-heavy mix with a more vocal-focused version without manually rebuilding fader positions and processing settings. Unlike the Arranger Track, Mix Recall changes the mix rather than the song structure.
Track, bus and plugin automation provide further control. For example, increasing a vocal’s reverb send before a chorus can create a sense of space before returning to a tighter mix. Similar movements can be applied to filters, delays and other effects throughout the arrangement.
Recording, MIDI production, arrangement and mixing tools for Windows producers working with live instruments, virtual instruments and detailed multitrack projects.
Recording several complete vocal takes gives you options, but it can also create a difficult editing session when every performance has different strengths.
In Sonar, enable loop recording over the relevant passage and capture several performances into Take Lanes. Open the lanes with Shift + T and audition each take before deciding which phrases to retain. A useful approach is to select complete musical phrases rather than editing individual syllables immediately. This preserves more of the original performance’s breathing, timing and expression.
Once the strongest phrases are selected, check every transition for changes in background noise, proximity effect and vocal intensity. Avoid flattening or deleting the original takes until the composite performance has been checked in the mix. A phrase that sounds strong in isolation may not sit naturally beside the surrounding lines.
Sonar can export individual tracks and buses, making it useful when collaborating with another producer or transferring a session to a different DAW.
Open File → Export → Audio and select the appropriate source material. Choose a common export range for every file rather than allowing each track to begin at its first audible event.
This matters when a bassline enters after the introduction or a backing vocal appears only during the final chorus. If each file starts at a different position, the receiving producer may have to manually reconstruct the arrangement.
Before exporting, decide whether the recipient needs individual tracks, grouped stems or both. A drum bus export may include processing and submix balancing, while separate drum tracks provide greater flexibility for the person receiving the session.
Also check whether bus effects and shared reverbs are intended to be included. Exporting dry tracks and expecting them to recreate the original mix automatically can produce a noticeably different result.
Leave sufficient time after the final note for reverb and delay tails, and include a stereo reference mix so the recipient can compare the imported files with your intended balance.
Cakewalk Sonar supports the .cwp project format used by Cakewalk by BandLab and previous SONAR releases. This provides an upgrade path for producers who have years of unfinished sessions or archived recordings.
Before opening an older project, make a separate backup of its project file and associated audio folders. If possible, preserve the original plugin installers and record which third-party instruments were used.
A project may open correctly while still displaying missing-plugin warnings. The issue might be a discontinued plugin, an unavailable licence, a changed VST installation location or a different plugin format.
One particularly important detail concerns Cakewalk’s newer Core plugins. Sonar can migrate certain older Sonitus effects to Core equivalents when the relevant migration preference is enabled, but the Core Plugins Suite requires BandLab Membership.
For a free-tier user, an automatically migrated plugin that cannot be authorised may produce silence. That makes automatic replacement a potential problem rather than an automatic improvement.
I would keep migration settings conservative when recovering important projects. Open a copy, inspect every missing or substituted effect and compare the result with an older reference export before saving over anything.
Sonar Free has enough core functionality to record and mix complete productions, but the absence of premium Cakewalk plugin collections means third-party instruments and effects can be valuable additions.
These free Windows VST3 plugins are useful starting points:
These plugins are not direct replacements for every premium Sonar feature. They expand the instruments and processing options available to the free edition without requiring BandLab Membership.
After installing them, open Edit → Preferences → File → VST Settings and confirm that the relevant plugin directories are included in Sonar’s scan paths.
If a plugin is missing, perform a manual scan before reinstalling it. VST3 plugins normally use the standard Windows VST3 directory, while VST2 locations may vary depending on the installer.
Make a backup of the original .cwp project and its audio files before opening it in Sonar. Keep the original directory structure intact where possible, especially if the project references audio stored outside its main folder.
Open the copied project and review any missing-plugin notifications. A missing effect does not necessarily mean the underlying audio has been lost. It may simply indicate that Sonar cannot find or authorise the plugin used when the project was created.
If a plugin is installed but not detected, open Edit → Preferences → File → VST Settings and check the scan paths. Run a scan, including the option to rescan failed plugins where appropriate.
Be careful with automatic migration from older Sonitus effects to Cakewalk Core plugins. The Core collection requires BandLab Membership, and an unlicensed replacement can cause unexpected silence.
Keep the original project untouched until you've confirmed that the instruments, audio files and processing behave correctly in Sonar.
Sonar Free uses a BandLab account to authorise the application. The free edition does not require a paid Membership, but the licence still needs to be validated periodically.
Install Sonar through Cakewalk Product Center, sign in using your BandLab account and select the free option rather than purchasing Membership.
Once activated, Sonar can be used offline. However, an indefinite free licence is not the same as permanent activation without further checks. Periodic reauthorisation is still part of the current licensing system.
If you work on a computer that is rarely connected to the internet, check the authorisation status before an important recording session. This avoids discovering that the application needs to be reauthorised when you are trying to begin work.
Start by checking the audio driver and buffer size rather than immediately changing every performance setting.
Go to Edit → Preferences → Audio → Devices and confirm that Sonar is using the intended interface. Select the manufacturer's ASIO driver for a dedicated audio interface, or try WASAPI Shared when using built-in Windows audio.
Increase the audio buffer gradually and test the same section of the project after each change. If 128 samples causes dropouts, try 256 or 512 samples before making more complicated adjustments.
If only one project has problems, temporarily bypass demanding plugins and freeze virtual instruments to identify whether the processing load is responsible.
If the audio engine stops, note any dropout message or reason code before restarting playback. That information can help distinguish a driver problem from a processing or storage issue.
Also check the sample rate used by the project and audio interface. An incompatible configuration or another application taking exclusive control of the device can prevent reliable playback.
Record the performances into Take Lanes using Sonar's Comping record mode. Expand the lanes with Shift + T so the individual takes can be viewed and auditioned.
Use the Smart or Comping tool to select a phrase from the preferred take. Sonar isolates that selection and mutes overlapping material from the other Take Lanes.
Repeat the process until the performance contains the preferred phrases from each recording. You can audition selections using Shift + Spacebar and use the arrow keys to compare different takes.
Check the crossfades and listen for sudden changes in tone, background noise or timing where the selected phrases meet.
Once the composite performance sounds natural, you can flatten the comp into a new Take Lane. Keep the original recordings available until the edited performance has been approved.
Check the export range and source selection before rendering. Individual clips, tracks and buses are not interchangeable export sources, and selecting the wrong option can produce files that contain different processing or different portions of the arrangement.
When exporting stems for another DAW, use a common time range beginning at the same project position for every file. This preserves the silence before instruments enter and allows the recipient to align everything accurately.
For example, a backing vocal that begins during the second chorus should still have the preceding empty space when delivered as an aligned stem.
Check shared buses and effects as well. A track routed through a drum bus or reverb return may sound different when exported without the processing applied elsewhere in the original signal path.
Avoid unnecessary normalisation if preserving the original balance is important, and leave sufficient time for any sustained effects after the last note.
Import the resulting files into a fresh project and compare them against a reference mix before sending them to another producer.

Qualified sound engineer, music producer and DJ. Founder of Jeffro Music, specialising in music production software reviews, sound design and practical resources for music creators.